Portal Pay Hub
This section will guide you through the process of setting up your profile, organization, API Key, payment accounts, and checkouts, as well as navigating the main features of the Portal Pay Hub.
Setting up your Account & organization
To get started you need to create an account. Follow these steps:
Note that the account creator will be responsible for managing API keys and setting up payment accounts and checkouts.
Visit the Portal Pay Hub website.
- Click on the "Sign Up" link.
- You have two options for signing up:
- Email and Password: Fill in your email address and create a password.
- Google: Use your Google account to sign up.

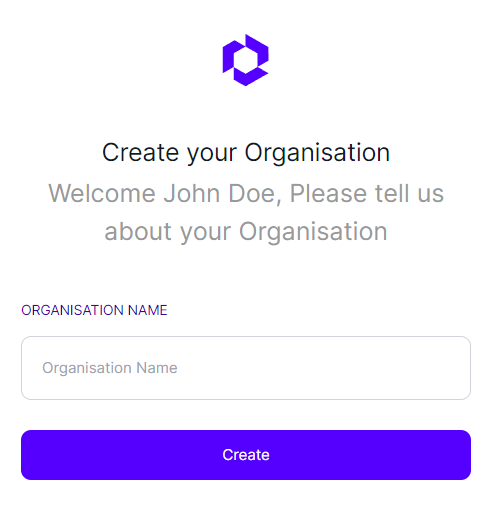
Once your account is created, you will be prompted to create an organization. An organization is required to manage your accounts and payments.
Dashboard Overview
The Portal Pay Hub Dashboard consists of four main sections: Payments, Accounts, Checkouts, and API Keys. Each section provides specific functionalities to manage your payment processes.
Additionally, the dashboard includes both production and test environments, allowing you to safely test and validate your payment processes before going live.
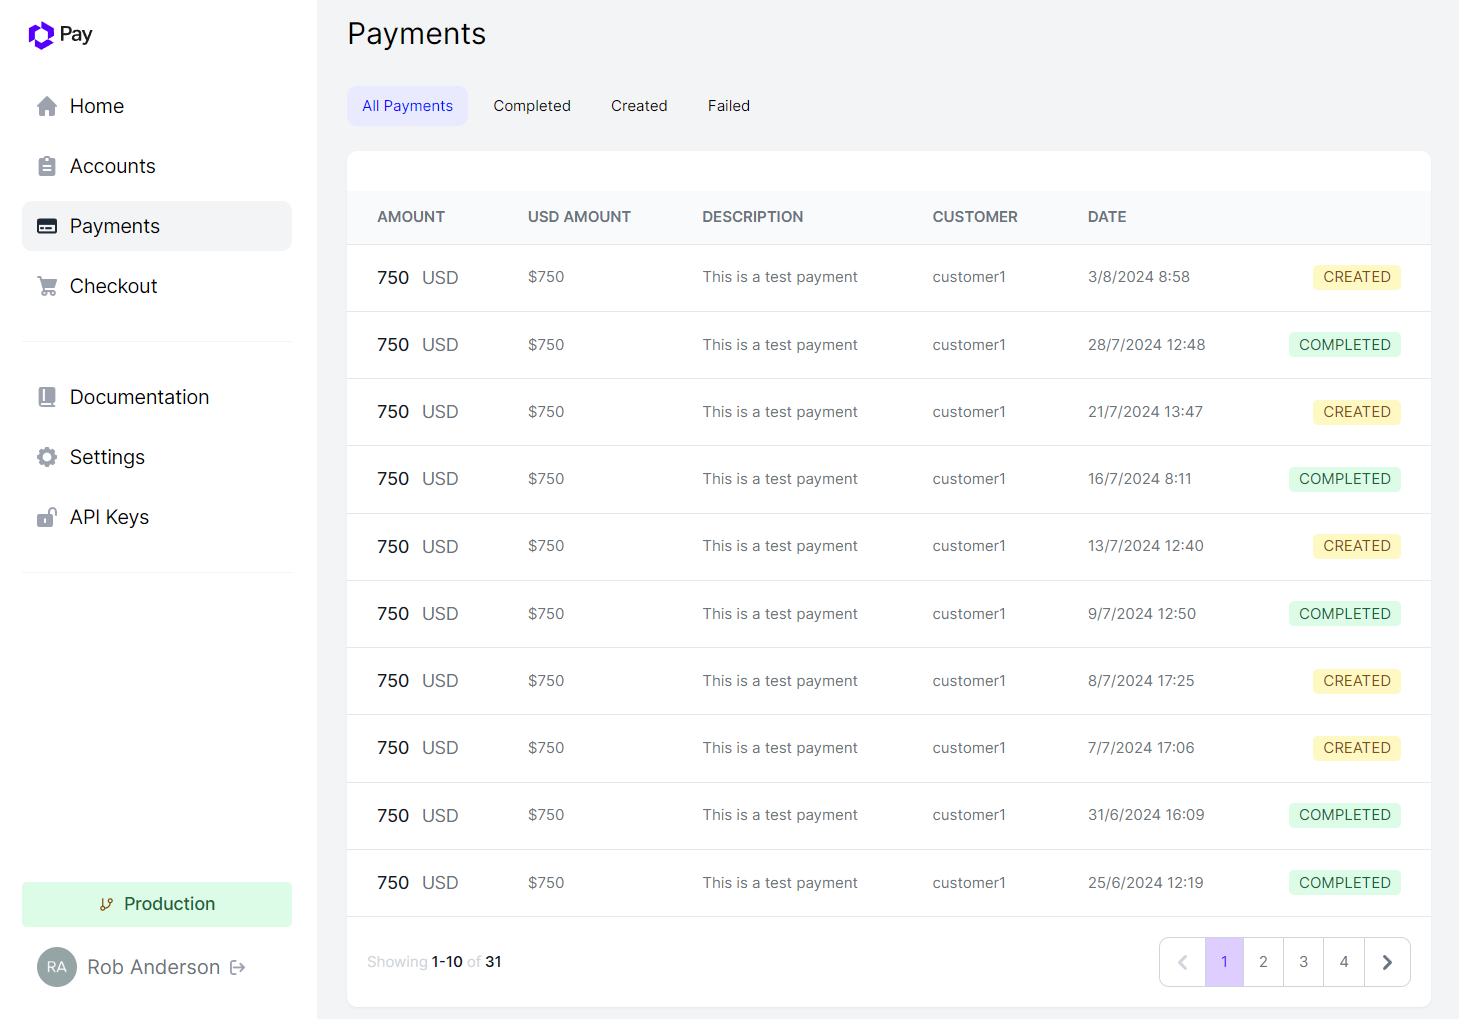
Payments
The Payments page allows you to track the status of your payments. You can view:
- Completed Payments: Payments that have been successfully processed.
- Created Payments: Payments that have been initiated but not yet completed.
- Failed Payments: Payments that have failed to process.
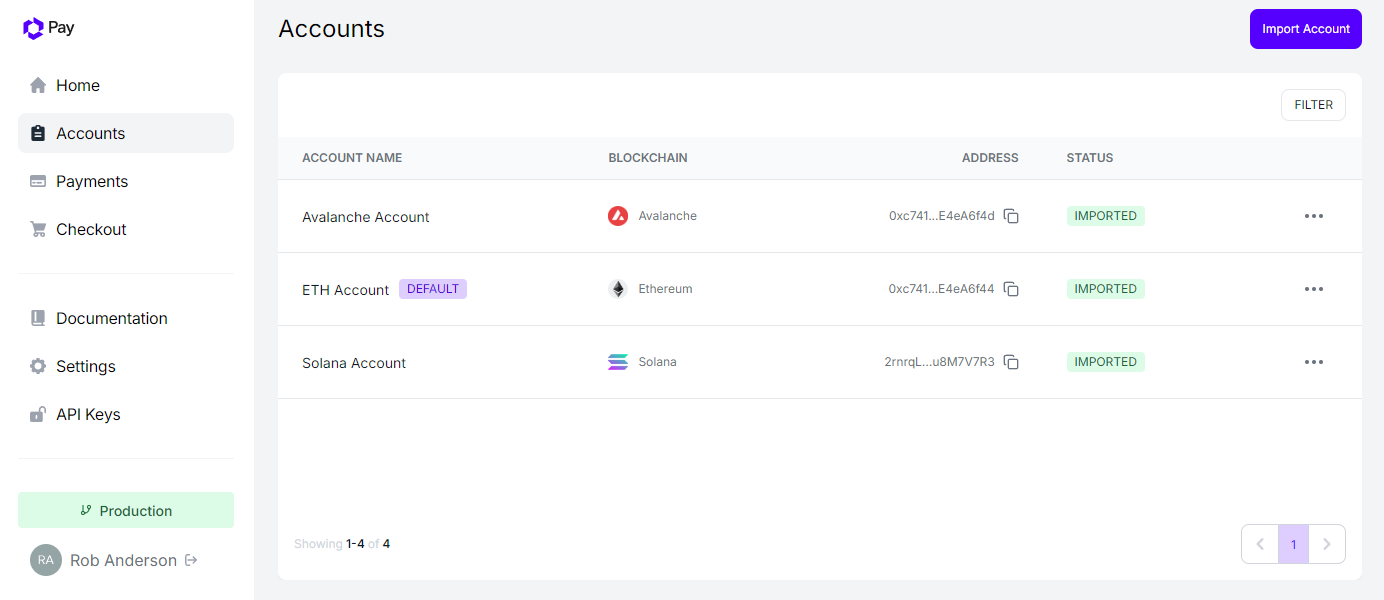
Accounts
The Accounts page is where you manage your payment accounts. This is where payments will be directed when users make transactions. These accounts are also required when configuring and creating checkouts when adding currencies.
Here's what you can do:
- View Accounts: See a list of all your created accounts along with their name, blockchain, status, and date of creation.
- Import Account: To import a new account, click on the "Import Account" button and provide the following details:
- Account Name
- Address
- Blockchain(select the blockchain for the account)
- Set Default Account: You can set an account as the default account for receiving payments.
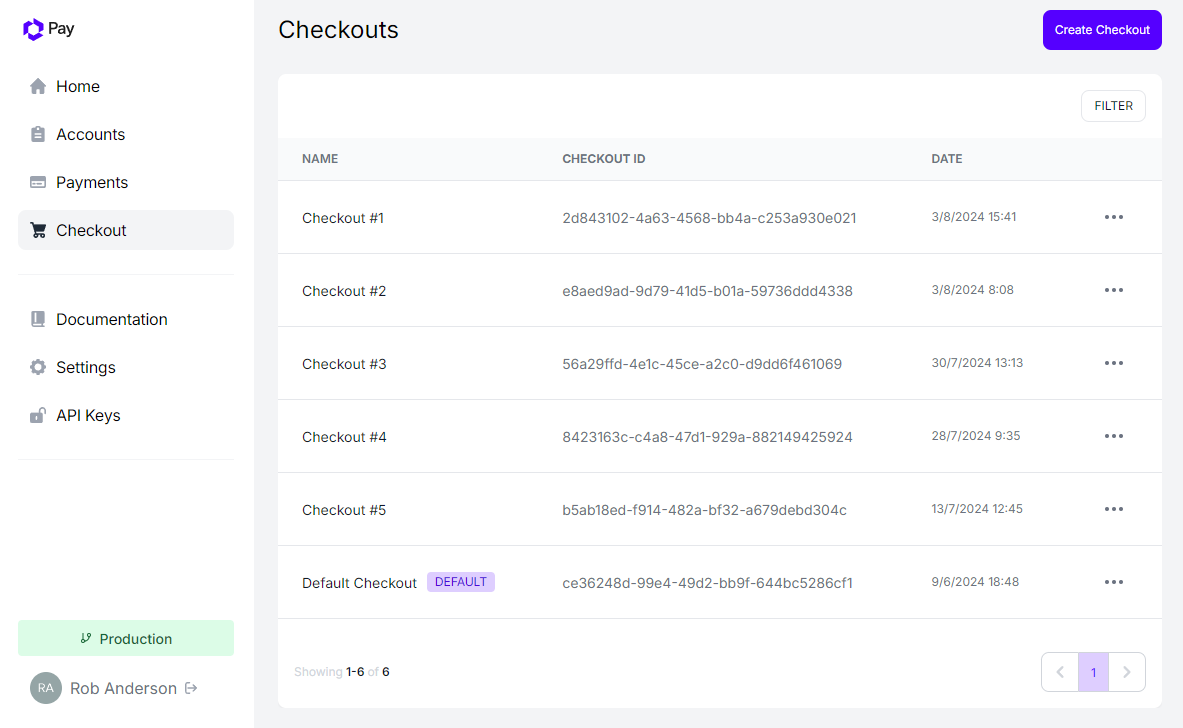
Checkouts
The Checkouts page is where you manage and view your checkout configurations. This section allows you to create and configure checkouts, select payment accounts and the currencies you want to accept as payment, add branding, and set up webhooks.
Here's what you can do:
- View Configured Checkouts: See a list of your current checkout configurations with their name, checkout ID and date of creation.
-
Create Checkouts: To create a checkout, start by navigating to the "Checkouts" section in your dashboard and clicking "Create Checkout."
- Enter a name for your checkout to identify it in your checkout list.
- Select the payment accounts where the funds should be transferred following a successful purchase.
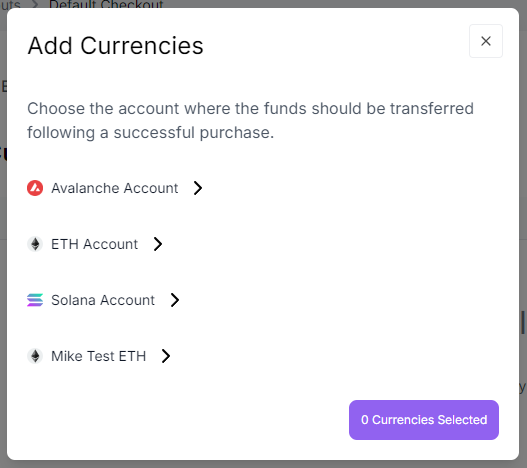
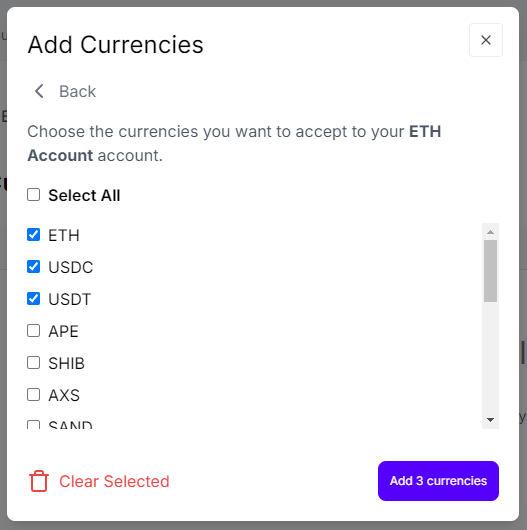
- Select and add the currencies you want to enable for the selected payment account.
Finally, your new checkout will be ready to use immediately, and you can start creating payments using the checkout ID.
-
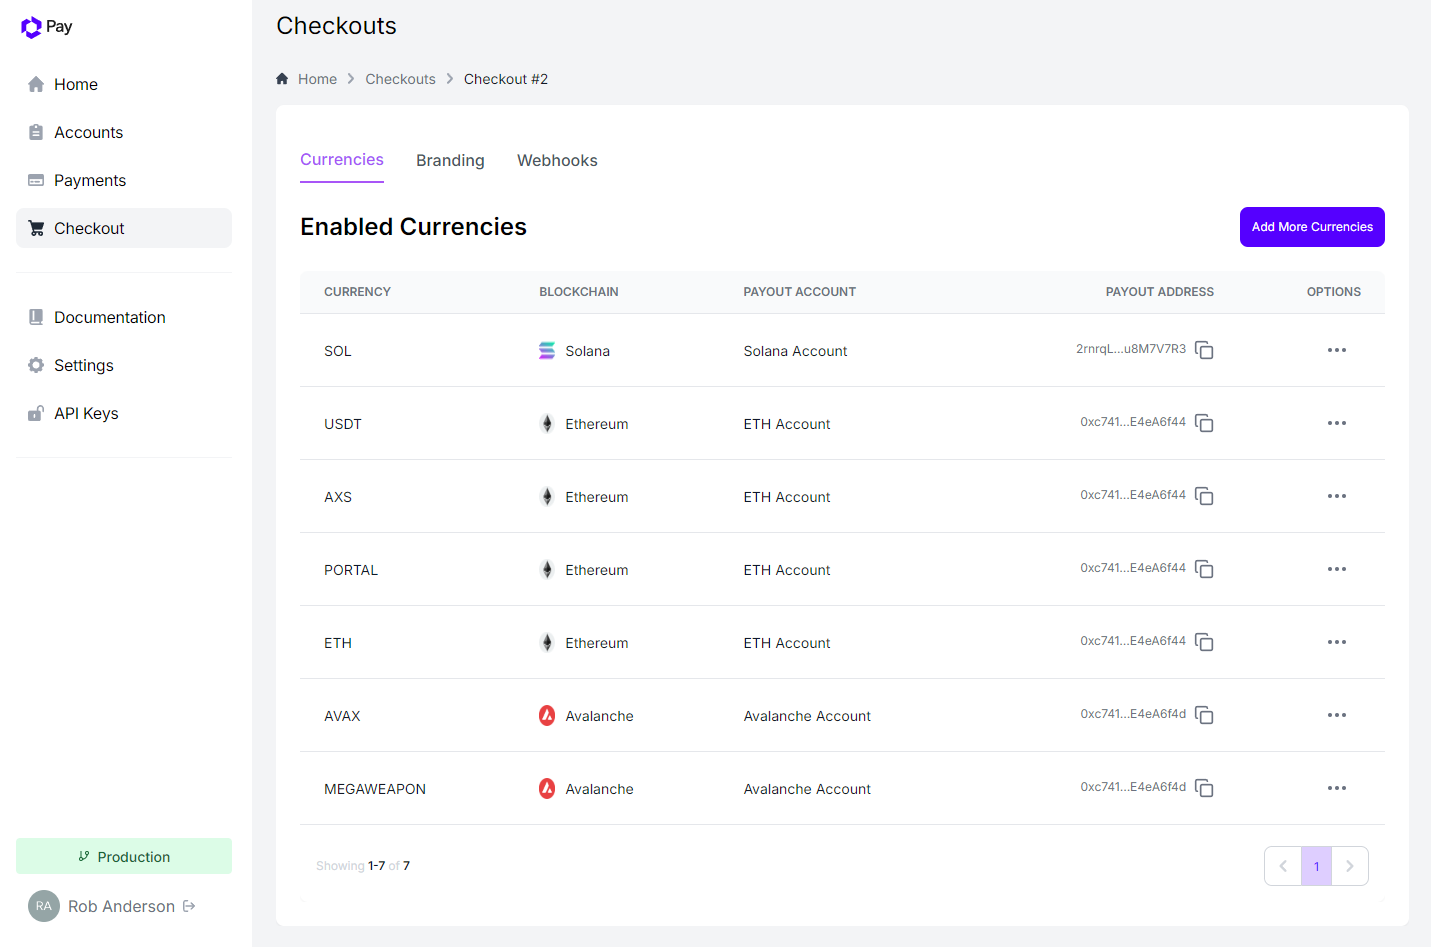
View enabled Currencies: See a list of your currently enabled currencies for the selected checkout.
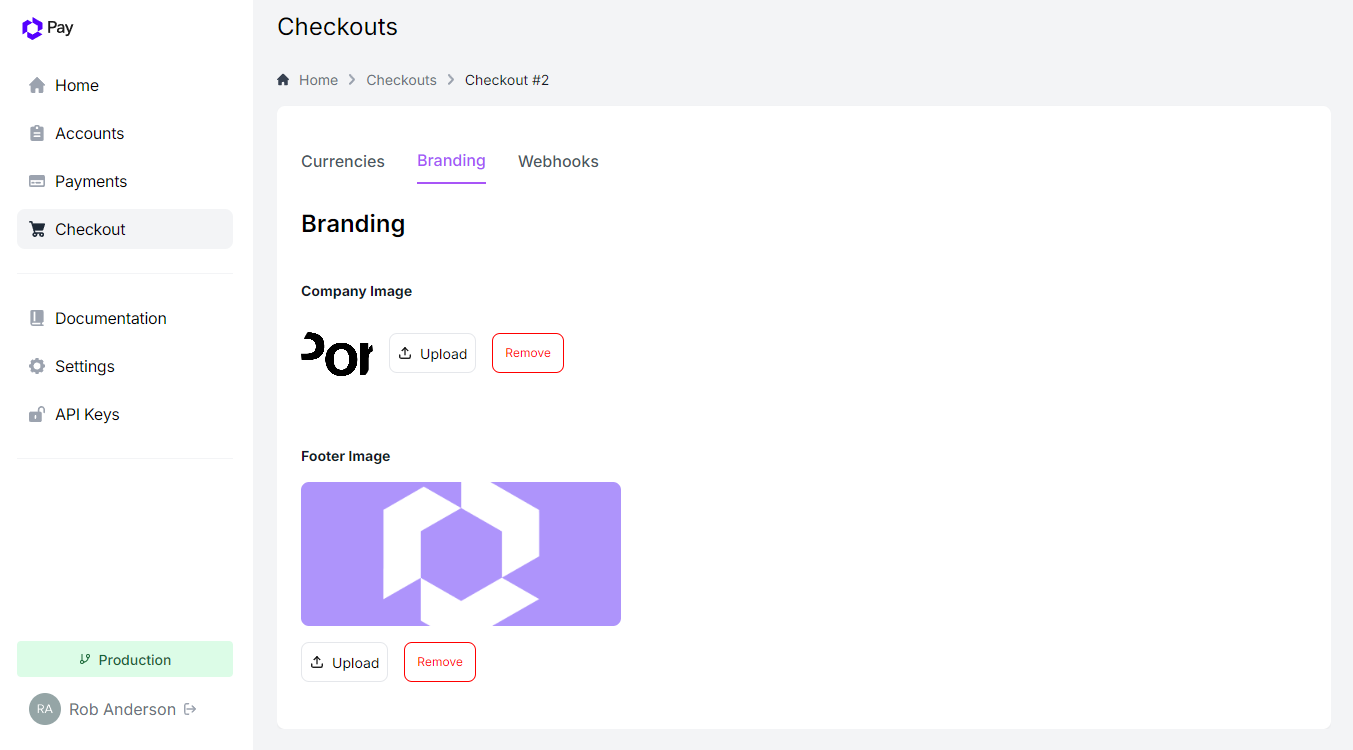
- Branding: This section allows you to upload a company logo and footer image for your checkout page.
- Click "Upload" and select your logo file. It will be displayed prominently on your checkout page.
- Click "Upload" and choose the image for the footer. This will appear at the bottom of the checkout page.
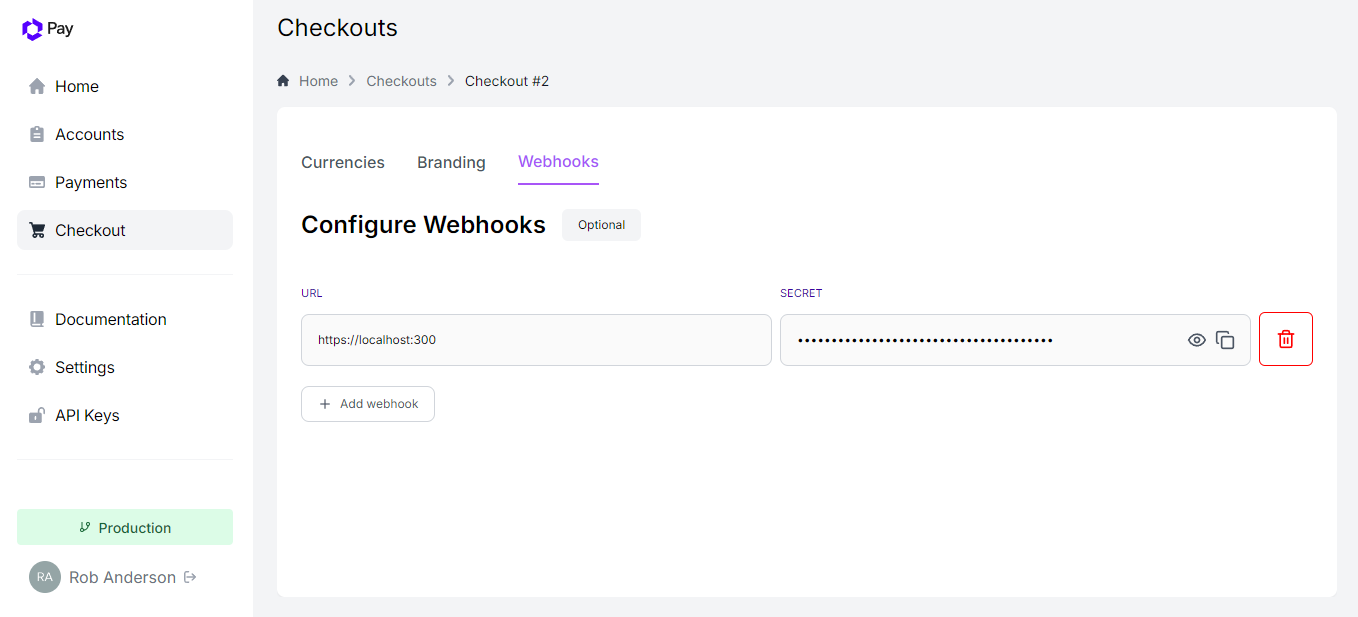
- Webhooks: In this section, you can set up a webhook by entering a callback URL. Once the URL is provided, you will receive a secret key. This key enables secure communication between your systems and Portal Pay. For more information, visit this link.
The callback URL must use HTTPS
API Keys
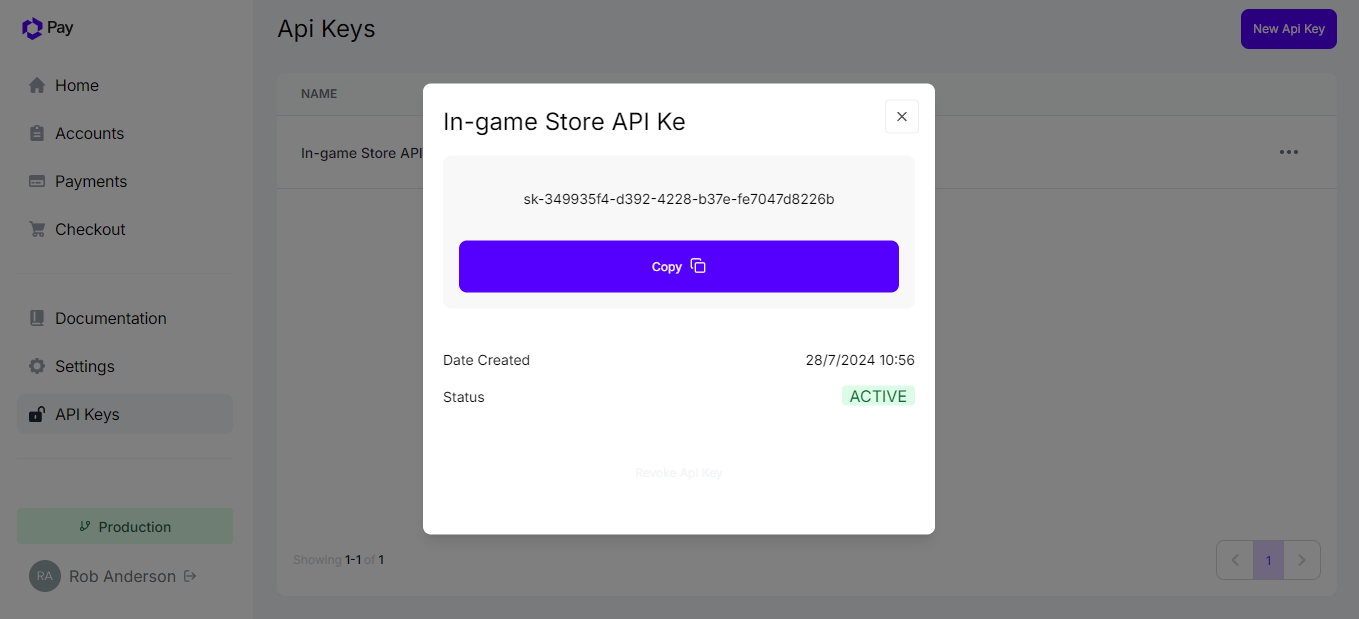
The API Keys page is where you manage your access to the Portal Pay Hub REST API. Note that you need to create separate API keys for the Production and Test environments.
- Create API Keys: Organizations can create new API keys for accessing the API.
Updated about 1 year ago